Showing posts with label gift ideas. Show all posts

Saturday, July 16, 2011

Free popsicle cozy pattern and gift tag!

My popsicle cozy pattern and gift tag are available today at Sissyprint.
Check it out! 


I think popsicles are a huge part of summer nostalgia.

When my son was a teething baby, I'd wrap a paper towel 
with a rubber band around the ice pop to keep his little fingers from getting cold.


Two kids later and a little experience has helped me make the perfect popsicle cozy.
Believe me, there have been several designs that have been modified and simplified.
There have been pocket cozies, wrap-around cozies, but the sleeve-style cozy is the way to go.


What kid wouldn't love getting a cozied ice pop, topped off with a coordinating gift tag!
Make summer special.

Wednesday, May 4, 2011

Vintage Flour Sacks... oh the options!


My absolute favorite thrift-type store is Vain & Vintage in Pocatello, Idaho. All things vintage, all things perfect. I really need to do an entirely separate post simply to introduce you to this place. It's truly glorious. I feel right at home whenever I'm there. On my most recent trip down Center Street, I stumbled across a stack of vintage flour sacks. I instantly fell in love with the graphic elements, printed onto the fabric in perfect shades of blue-grey, bright reds, and a rustic navy blue. They ranged in price from $7 to $12. A little pricier than I would have liked. I'm a 50 cent kind of girl. But, I fell so head over heels, I had to splurge a little for these.

Today, I'm going to show you how I like to rock pillows. I'm a germaphobe, so I formulated this "pocket pillow." It's a cinch to whip up and easy to peel off the pillow case when it needs a good washing. You can find vintage flour sack on ebay (although the large canvas ones like this are a bit trickier to hunt down). Or, you can call on the lovely ladies at Vain and Vintage.


Cut your pieces. My pillow form is 16"x16", so my instructions are directed toward those dimensions.

Give the inner edge of back panel 1 and back panel 2 a 1" hem.


Lay the back panels on top of the front panel, right sides together. Be sure to layer back panel 1 under back panel 2. This is the part that will allow the case to removed from the pillow form later on, if need be.

Now for the speedy part! Just sew around all four sides of the square. I tried to make a graphic for you to understand how the pieces need lay. See the "sandwich" to the right? Hope that makes sense.
Clip the corners of your pillowcase without severing your stitching. This will make your corners nice and smooth once you turn it right-side out.

Turn your pillowcase right-side out. Iron that baby, make it look a little more profesh, and insert your form. See the pocket on the back side? I ran out of sack material for this pillow. So, I supplemented a little with some ticking I had in my stash.

Ta-da! Done-zo! I've got flour sacks on the brain lately. Here are some other fun options they can be used for! P.S. I got this rocking chair at a garage sale for $4.  Just sanded it down, primed, painted, and distressed!  Now, it's one of my favorite things.

Shopbellavita.com

sarawakianali.blogspot.com

50centstool
sarahblucastle.com

Am I crazy if I want to sprinkle my itty bitty apartment with flour sack elements? Covered chairs, pillows, maybe some curtains for my kitchen... I might go a little overboard. Love these little gems.

Tuesday, April 12, 2011

Wedding Party Headband Tutorial


photo credit - BHLDN.com


So, like I mentioned weeks ago... I've had weddings on the mind lately. I was a member of my sister in-law's wedding party in March and when I came across this pom pom rose headband from BHLDN (love-love) for a whopping $130, I felt a challenge coming on.


First cut a BUNCH of circles in random sizes and from different textures. I used a basic white cotton and leftover scraps from Lady P's blessing skirt. This is a great project to use up some scraps in your stash. Fray the edges ever so slightly by holding the edge of the circle tight between your thumb and pointer finger and pull the fabric through that tight grip with your other hand.


Make a cone shape by layering 3 differing sized circles, pinching them together in the center, and stitching through the pinched portion of the fabric. Somehow I forgot to take a photo of stitching the cone. Sorry. But you can visit my friend Lyric's blog here to get an idea.


Now for the fun part! Cut a piece of felt into a circle. My circle was about 3.5" because I wanted a large, dramatic blossom. But, you can do it whatever size you'd like. Start sewing the pointed portion of the cone to the felt. Continue sewing cone after cone and wind them around the circle in a spiral pattern.


As the spiral gradually gets closer to the center, they'll start standing more and more upright.


I was able to hand stitch all the cones onto the felt in about the time it took me to watch a movie.

Now just attach your pom pom rose imitation to an alligator clip or headband and you're set! I can see this for so many purposes. A purse charm, a brooch to your favorite blazer, at the waist of a skirt... don't you love possibilities? I do! And for $129 cheaper? You betcha!


See the finished product perched on top of my head? It really was a day full of beautiful things... like Rachel, the bride. Gorgeous!
The snow is melting here in northwest! YAY! Idaho is so beautiful in the spring!

Tuesday, February 8, 2011

Valentine's Day Art Project for kids (or adults...)


It has been a hefty winter, so art projects have definitely been MY saving grace while we're cooped up indoors! I happen to love Valentine's Day, so this is our project for this week. I apologize for the lack of a "finished product," but I'm saving this puppy for after lunchtime tomorrow.


Remember these tissue paper flowers we all made back in grade school? It was usually the go-to craft for Mother's Day, Valentine's Day, etc. Remember how you'd cut squares out of tissue paper, shape the square over the edges of a pencil eraser, and whala, you have a beautiful fluted flower? Yup, those are the ones. Easy peezy, lots of fun for the kiddos, and they look pretty gorgeous when they're all bunched together. Add those to the tree portion of this free printable and you have yourself a charming little valentine for someone special (like mum or dad) or some memorable holiday art you can pull out each year.

Go here to download the .pdf. It works best printed on white cardstock, but plain computer paper will be just fine also.
Do you have clever ideas on keepin the kids happy inside? I'd love to hear them!

Tuesday, February 1, 2011

Love Nest Wall Decor Freebie


Lately, I've been attempting to decorate my itty bitty apartment to make it feel a little more "me." Not gonna lie, it has not been easy. We are still living in limbo waiting for the job, so my budget for decor is nil. But, that's okay... it's forced me to be creative, so not all is lost.

What better way to spruce up the place with a little wall art? And ta-da! FREE! You can also resize them and use them for cards, housewarming gift gift tags, etc. Lots of uses

Want one of these goodies for yourself? There are two versions. Go here and here to snag some!

I love Valentine's Day.

Monday, January 31, 2011

Owl Teether Pattern


I am super thrilled today because I heard from my friend, Claire, that my owl teether was featured on one of my favorite blogs, Homemade by Jill! YAY. But, since then, I have received quite a few emails and comments mentioning that Scribd.com, the website that is supposed to be offering me free file hosting, is now charging memberships to those who wish to download my free pattern.


The whole fun for me in sharing patterns on the Rubber Punkin, is that they're free! I will now be using google docs to host my patterns and printables. To get your Owl Teether Softie pattern go here!
Have fun making these and thank you Jill!

Thursday, June 17, 2010

Vintage Summer - Flower Power


How charming is this old pitcher? I love it! I even think the imperfections add to its flare.
Old galvanized buckets, vintage coke bottle boxes, antique bowls...
What found objects have you used for planters this summer?

Wednesday, June 16, 2010

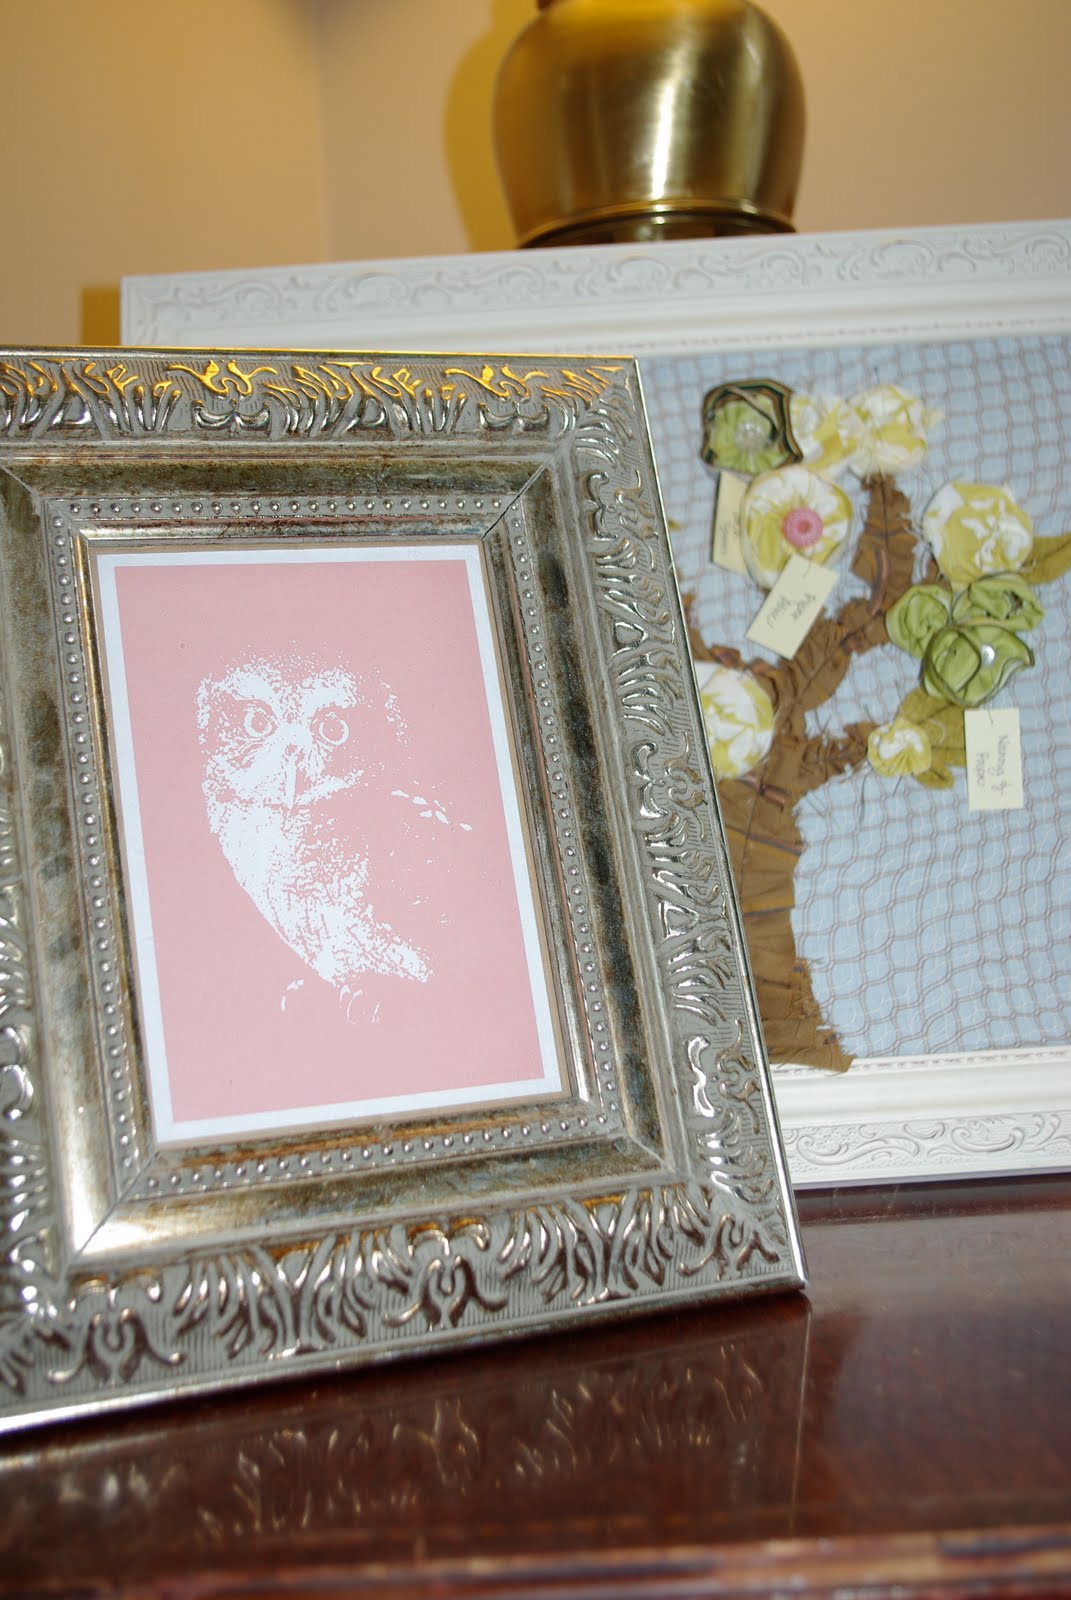
homemade pop art with an owl in the mix


I have been looking for a whimsical print to hang in the room of little Lady P.
I haven't had much luck finding anything I particularly love. Lots of like, but no love.
For some reason or another, I've developed a crush on owls.

I found this photograph of a cute little owl on google images and saved it to my desktop.

Then I discovered this fantastic photoshop tutorial and transformed the owl photo into a duotone print of my own. You can do any color. Pink was just a no-brainer for me.

Just some free art for your home. What a deliciously easy goodie.
Happy summer everyone! It was 81 degrees in Idaho today! YAY!

Tuesday, April 27, 2010

Reader Tip Tuesday - Mothers Day Gift Idea

I don't know if any of you are familiar with Miss Elizabeth with To Be Charmed, but it really is one of my favorites. I kinda think Elizabeth and I could be kindred spirits because everything she posts makes me drool. From inspiring projects she's found elsewhere to items she's conjured up in that genius mind of hers, I love it all. Now, I know Mothers Day is coming and Elizabeth forwarded me this lovely, feminine spin on packaging a gift. I adore those gorgeous tissue paper flowers! And to pair them with a nicely scented candle. Perfection. I can NEVER have too many candles. These flowers make me want to make some GIANT ones and hang them over the crib of my little Lady "P." This is the final feature for Featured April, so be sure to get all the details for this project here.

Thanks to everyone who submitted tips! There are some ladies out there with some wicked good ideas. Happy Tuesday, everyone.

Tuesday, April 6, 2010

Reader Tip Tuesday - Onesie Cupcake

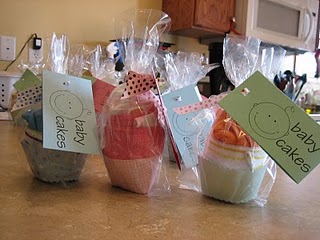
I would like for all of you to meet Kristi and her onesie cupcake! You know the diaper cakes we all love so much? (Seriously... it was one of my favorite shower gifts) Well, Kristi has formulated a new spin on an old idea by forming onesies into a yummy cupcake of a goodie. Its' the Reader Tip for this week, so be sure to check out all of Kristi's bright ideas at her Bowl of Cherrys blog.
P.S. LOVE her bunny tagged sidewalk chalk. Check that out here.

Thursday, March 4, 2010

Tooth Fairy Pouch

My niece, Kaily, lost her first tooth today. My dad pulled it out. It was quite exciting. It's been loose for weeks now, and she finally let Grandpa string it up and jerk it out.

Since the tooth fairy is visiting her pillow tonight, I wanted to maker her something special to house her first tooth.


1. Cut a piece of wool felt to approximately 2" x 5" and a tooth shape out of white wool felt for the front. I freehanded mine, but you can trace the outline of a shape like this. You can search google images for one you like.

2. Sew the tooth to the 2" x 5" strip. Stick close to the edge of the tooth as you stitch it on.

3. I put a "K" on the tooth with pink embroiddery floss using a basic back stitch.

4. Fold the 2" x 5" strip in half, right sides together. Sew down the sides and turn right-side out.


Very easy. Sorry I didn't take step-by-step pictures of this one. It was a spur-of-the-moment job. If you want to make this and have questions, please don't hesitate to email me. I'd be happy to help you! I hope you guys aren't getting sick of wool felt. I can't help it, I have a craft crush on the stuff.

Wednesday, February 17, 2010

Pottery Barn inspired chalk-board


I'll be honest, the creator in me must be on hiatus. I went into my sewing room last night with good intentions to make something. But, I ended up on the couch and watched a dog show of all things.

But then I came across this in the Pottery Barn catalog. Isn't it clever? And most certainly doable to make one on your own.

Then a little firework went off in my head and I remembered the white platter I just bought from TJ MAXX on clearance for $8! Buh-bye slump, helloooo chalkboard paint.


Like a just mentioned, I purchased this adorable platter on clearance for $8. But, surely, you could probably find one of these at a thrift store for less. You'll also need painters or masking tape, newspaper, and a can of chalkboard spray paint.

First, tape around the area you want to be covered with chalkboard.

Then, cover the white ceramic border with newspaper. Tape it in place. This is going to keep the white parts white, so unless you've got mad spray painting skills, don't skip this step.

Spray paint away. Call me paranoid, but I let mine dry for 24 hours before I peeled the paint.

And, ta-da! A nice little goodie for you to write love notes, grocery lists, inspiration, or stick figures. And, it's easy, too! Just a little note, and a lesson I learned the hard way, don't use clay sidewalk chalk. It scratches the surface and you'll have to repaint.

I've GOT to give a shout out to Elizabeth who is going live today with her new website called "To Be Charmed." She posts some great inspiration. Show some love and visit her here. Good luck Elizabeth!

P.S. I take the worst tutorial photos ever. If any of you have tips on what I can do to make them better, I'd so appreciate the help.

Friday, February 12, 2010

Kids Tee Applique


My friend, Claire, is expecting a baby girl in the coming months and spotted some appliqued onesies she kinda loved. Well, they were $30! Can you believe that? Thirty bucks! Well, here's a tutorial that can help you get a $30 onesie for $2. By the way, if you don't know what to make for dinner, Claire has a stellar recipe blog. You've GOT to check her out here. I ate her cookin' every day for an entire summer... it was heaven.

First, iron double-sided fusible webbing onto your choice of fabric(s) according to the manufacturer's instructions. Fusible webbing really is the trick to doing a successful applique, especially onto jersey.

Browse google images or some clip art software for an image you like. Print it out, cut it out.

Trace the outline of that image onto the paper backing of the fusible webbing.

Cut out the traced image. Peel the paper backing away from the webbing/fabric and lay the pieces onto your onesie or shirt. Iron in place, adhering the fabric images to the jersey.

CAREFULLY and slowly stitch around the very edge of the images. Take your time on this step and I promise it will be perfection.

Now for the legs... To add a little extra texture, I used brown embroidery floss and did a back stitch to create skinny little bird legs.

Ta-da! A little love bird onesie. Easy, right? I kind of want to design dozens of these for summer shirts for littly lady "P." Applique away, folks! Hope you all had a happy Valentine's Day!